Sunday, May 3, 2015

Crafter's Playground!

Guess where I get to go?  I'll give you a hint:  It's only like my favorite store in the entire world! Yep! You guessed it...Hobby Lobby!  

I was asked by a special someone to make some baby headbands.  I threw together a few trial ones from some supplies I had on hand...which admittedly, in this crafting area, were not plentiful, and not exactly what I think she was looking for.  Though I was limited, all I can say is, "Wow...addictive!" Sooo...naturally, I need more supplies. 

There are a few types of flowers that I saw online that I want to make and some patterns in my head that I want to try out (like the ones that have the cute mini flowers all the way around the narrow band! They are petit and precious!) When I find my favorite flower, I'll post directions here in the next week or two on how to make them yourself! Sound good?  

Check back to see (Or like my FB page to get the update: www.facebook.com/DakotaCraftCreations)


Nature Supplies.

So, I have made fun little pendants out of these cute wood cuts for quite some time.  I love the variety and how neat they turn out.  Just a simple little craft makes for some very unique and special pieces.  That being said, pair up the craft with my love for essential oils, and naturally,  a lovely little aromatherapy pendant is formed!  Anyway, I have tested out this concept (with one of my favorite "joyful" blends).  I have a billion ideas rolling around in my head, so I have high-hopes that this will go well,  and I'll have more of them listed in my shop this week...:)  I'll keep you posted, of course! Thanks for looking!

Sunday, April 26, 2015

More Grungy Tags....

Here are my latest old-looking grungy tags.  These are stamped with a subtle crow (or raven, if you may).  If you make some of your own antiqued-tags, don't worry about the stamp 'fitting' perfect in your stamping area. This stamp was, in actuality, much longer from side to side than the tag.  I just lined up the stamp how I wanted and zoned in on the birds. Then stamp!  Mind you, this is why I love the clear acrylic stamps.  You can see through them and get them lined up exactly the way you like.  Please Enjoy!

Sunday, April 19, 2015

Tea-Stained Tag Tip


I told you that I would show you how you can add a little red ring to your homemade antiqued tags, so here it goes!  Now if you purchase the already pre-cut tags, you will get the little ring on the tag.  My problem is that when I do my tea-staining, that little ring comes off and I need to glue it back on.  Is it just me, or does this happen to you too (could be just me...who knows?)  

Anyway, since I cut my own tags from cardstock, then I found a fun little way to add that circle.  It may be 'faux', but I like it. This is how I do it:

Check out your personal stamp collection and find a circle stamp large enough to stamp over and around the hole in the tag.  I used to use a circle out the of Close To My Heart stamp set called, "Rustic Flowers".  But, (gasp!) I lost the little rustic circle out of it!  So today I searched through my tons of stamps and found a circle shape in the Close To My Heart stamp set called "Tee Time". Just in case you are wondering...yes, it's the golf ball stamp....lol.  What can I say? It's the right size and worked out.  

The color of ink I used is called "Barn Red".  Yes, I also got that from Close To My Heart (I told you...I used to be a consultant.  I LOVE that company!).  Just choose any color that you think looks good with the tag.  I have even used shades of brown that compliment the tea or coffee stain.


Now, stamp them all out.  Put your stamp over the hole, lined up evenly on all sides..and stamp.  That's it!  I love it because it still gives the image of that circle, but it doesn't fall off.  I think it's cute.


Thanks for visiting!  Have fun tag-making!

If you don't feel like making the tags, but would love to have some of these on hand, these tags are listed HERE on Etsy!


Saturday, April 18, 2015

Tea-Stained Tags


So lately I've had an itch to make some tea-stained tags.  I haven't made them in awhile, but between those and scrapbook pages, that's pretty much what got me started on Etsy several years ago.  I love to bounce between crafts, but making these tags are so much fun, so I make them now and again.  If you haven't tried your hand at making them, here's how easy it is!

Products you will need are:

*Cardstock. You can find cardstock just about anywhere.  Because I like to sell the things I make on Etsy, I try to purchase high-quality cardstock.  My favorite place to get mine is from Close To My Heart.  I used to be a consultant for CTMH and I have never quit loving their products!  I LOVE the quality of their cardstock.  I know Stampin' Up has great materials also.  Anyway, choose colors that are neutral. ..white, beige, tans, etc.  Something along those lines will work just fine.


*Tea or coffee.  Tea bags work fantastic.  If you do not have tea bags, then any tea or coffee will work.  Just seep it strong and have paper towels or other soft material (cloth) handy.


*Hemp String.  Packaging string, ribbon, or the like.


*Stamp.  If you desire to choose to stamp a design.  If not, then skip this step.


Instructions:  (You'll never believe how easy this is!)


Step 1: Preheat oven to 250 degrees.


Step 2: Cut out your tag shape.  I use either a tag stencil or my Cricut cutting machine.  In the past, I cut all my tags by hand.  In fact, I literally traced each tag and then cut them out.  It was worth it, but with my Cricut, the cutting goes much faster!  Another way that someone could do this is by ordering the tags in bulk that are already cut for you. That works, but I just love to cut my own.  


Step 3: Lay out your tags on something that you can stick into the oven.  It could be foil, parchment paper, a cooking sheet, a baking pan.  Anything, but just make sure it is clean of marks or your tags could be stained by something other than the tea.


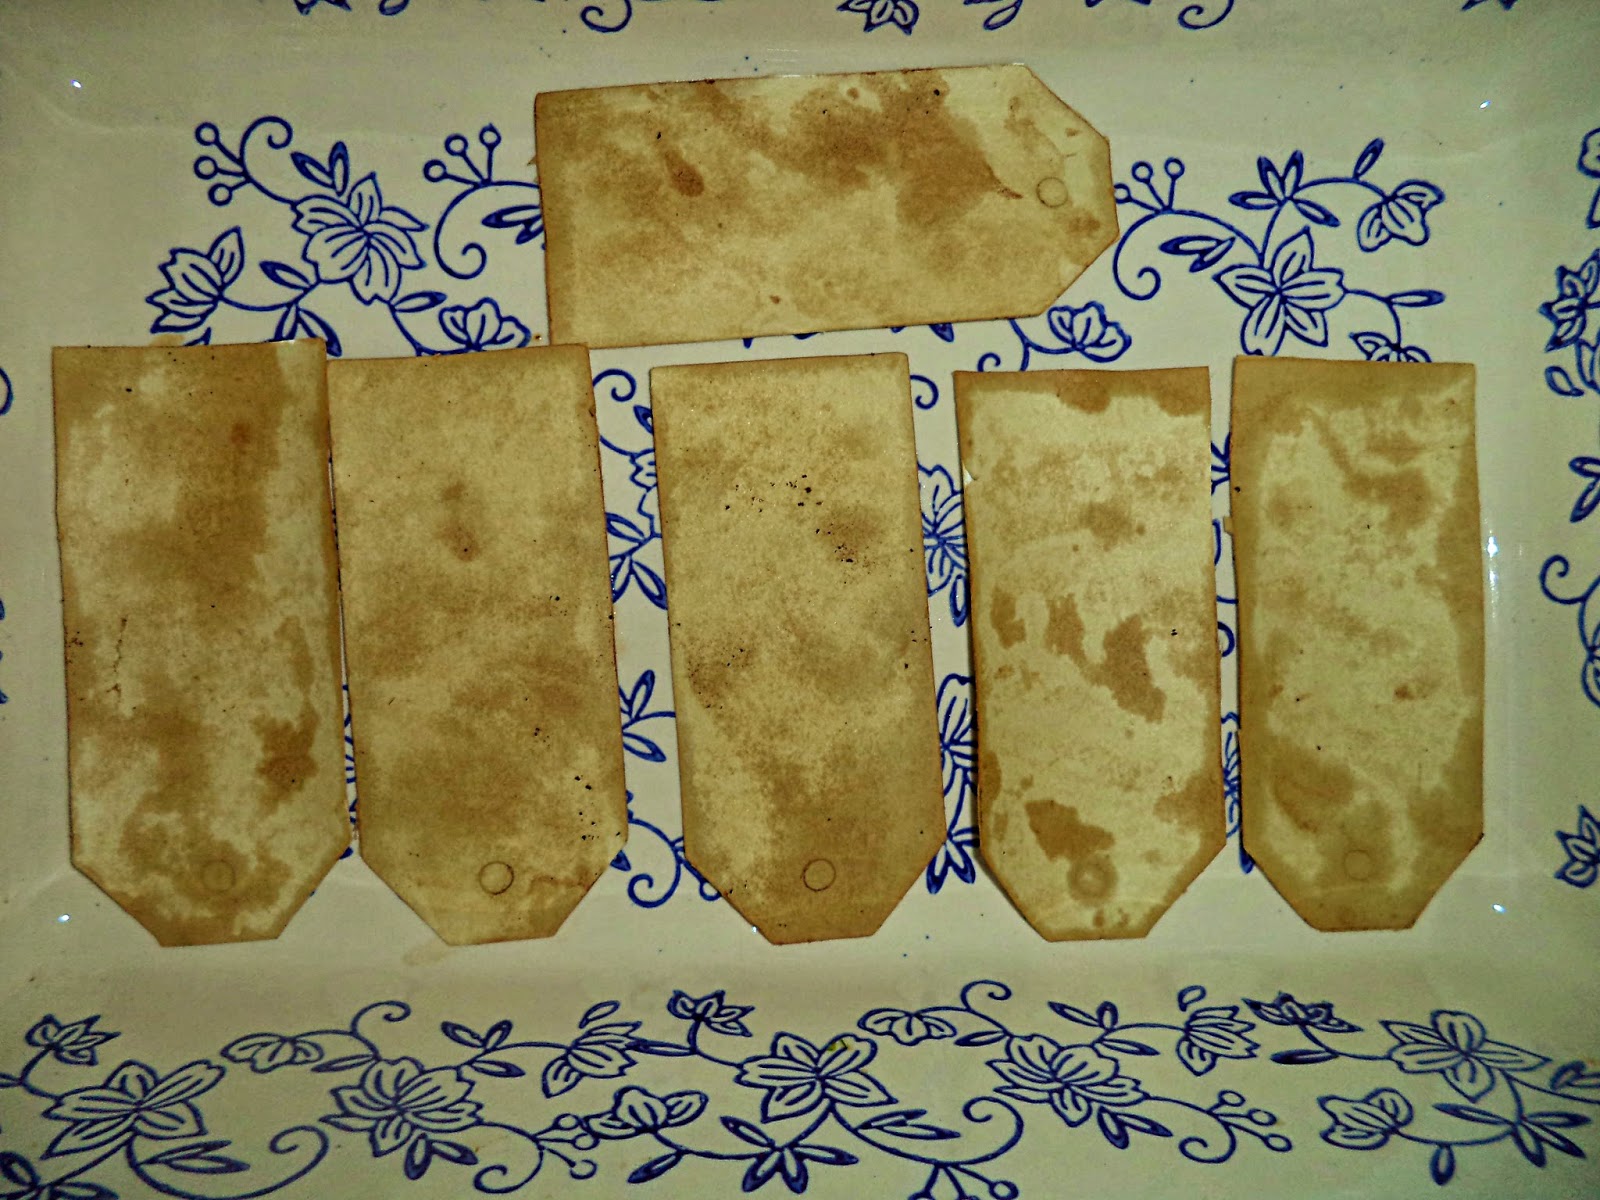
Step 4: Take your moistened tea bag and dab the tags all over with it.  You can see the tea (or coffee) on the tags.  You can mottle it however you desire.  I have made them heavily stained, lighter stained, extra mottled...meaning I dab it in some areas, but not others; or dab stronger in certain areas. There is no right or wrong way to do this...Just have fun!  


By the way, this last time I used simple Lipton's Cold Brew Tea Bags.  They brew cold and worked amazingly well.  It was just so quick!


I have also used raspberry tea for a pinker color.  Different teas or coffees will give you different shades of color.


(Your work space may not be as messy as this when you are finished.  I just happened to make a lot of tags this time around!)

Step 5: Place the tags in the preheated oven.  This temperature is low enough that you do not have to worry about burning the tags and it really speeds up the drying process.  I am not sure exactly how long it takes to dry them, but it isn't too long.  Just keep checking every few minutes.  I flip them over when I check them, though it probably isn't necessary.  


The tags will curl a little when drying.  I happen to kind of like this characteristic to them.  However, if you want them flat like before the drying, then take a warm iron to them.  It will flatten them right back out. 

Actually, I have used an iron from the damp stage to the drying stage when I wanted them flattened and just skipped the oven drying step. It works too. If you are using an iron designated for crafting, make sure that the bottom is clean or use a piece of clean cloth between the tag and the iron so there is no staining form other previous crafting on the tags. 


Here are some other options to consider:


*Double-stained.  When I have wanted my tags super primitive-looking, I stain, dry, and then stain again.  


*Using coffee makes a darker stain.


*Purposely getting the grains from the coffee or tea on your damp tag, drying the tags, and then brushing off the grains when dry can give it some additional textural appeal.  


*One of my favorite tips is to crumple your tag and then only gently flatten out. Tea-stain and then bake/dry as normal.  I LOVE the extra primitive look with the added wrinkling.  If I can find one of my photos from doing this, I will add soon.


The final steps are pretty obvious: Stamp an image on your tag using your choice of stamp (or leave plain), and use the hemp string (or other choice such as packaging string or ribbon) to string through the hole.  Just loop and tie, or string the way I did with the ones in my photo.  

You're finished!  Attach to a gift or tie around a jar of homemade jam that you made for someone special for a nice, personal touch!

In case you don't want to make your own, but would love to have some tea-stained tags on hand, here are some of the tags I have listed on Etsy right now
:


My tags have been used for gift tags, jar tags, tags added to packages of handmade soaps, added to wares sold at vendor shows/craft shows, pinned to the dresses of primitive hand-made dolls, and accented old-fashioned weddings.  I have loved all of my customers that I have had the pleasure of working with!

By the way: Notice on these tags I made that around the hole there is no "reddish" ring as seen in many tags like this.  In my next post, I will show you how to add this when making your tags handmade.  Stay tuned!

Thanks for visitng, and have a ton of fun with tag-making!

If you would like to follow my page "Dakotacrafts" on Facebook, I would love to have you!  Click here for my link.


Tuesday, April 14, 2015

Wear your favorite oil!

Took another shot at an essential oil clay pendant...:) This time playing with color!  Still a bit rough, but maybe I'll work on that next time around.

Saturday, April 11, 2015

Poseidon's (Neptune's) Throne

Okay, so I love any opportunity to try to make something out paper mache.  Even though, I will admit, that I don't really like a lot of things that are paper-mache projects overall.  I do like the paper mache bracelets that I made, and I finally got down some earrings that were acceptable.  I also liked a birdhouse that I made once.  It looked like real stone!  And I really want to acomplish some papaer mache dolls someday.  They have been on my "to do" list for like a decade now.

Anyway, that being said, anything is possible with paper mache (and I mean anything!  Even substituting it for drywall in a pinch when repairing a wall. Ummm...but that is a whole different story, and uh, don't tell my husband that the wall patch is paper mache).


So you can imagine my excitement when my son asked me to help him figure out how he can make Poseidon's throne out of paper mache for a school project. Imagine my dismay when he told me he basically waited until the last minute to get it done...ugh.


Hello?  Paper Mache requires drying time, ya' know? (Seriously, that's what hair blowers are for.)


Okay, so I gave him ideas for the throne to start with carboard boxes for the general shape and then build upon that.  Jello boxes for the arm-rests, by the way...:)


Well, here it is!  Remember, The paint was drying overnight before he had to take it in the next day, so there was no time for any touching up!  Like, the chair was supposed to be like a green-gray marble, but it didn't quite turn out the way he wanted.  That being said though, I think he had the right idea for the chair overall. ;)


I personally like the twigs near the top that are supposed to represent coral.  There is a multi-headed sea creature on one arm and a crab creature on the other.  The color-scheme was required. So, there you have it:  Poseidon's Throne: